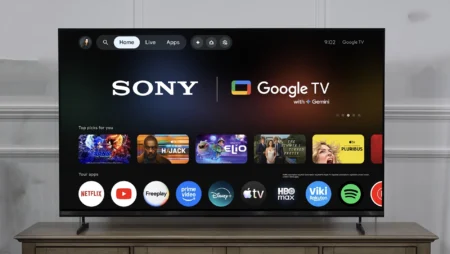

GTA 6 runs at 30 frames per second on every console, PS5 Pro included, so the 120Hz setting most guides tell you to switch on won’t do anything for you. What changes how Leonida looks and plays on your screen is Game Mode, the HDMI port you use, a proper HDR calibration and two decisions about motion smoothing and VRR that work differently at 30fps than at 60.
Rockstar confirmed the 30fps target on 10 November, in the same post that opened pre-loads, and most of the settings guides you’ll find ranking for this were plainly written before it went up. What follows is the order to change things in, with input lag and HDMI numbers measured on TVs we’ve reviewed, so you can see how much each step matters on a real set rather than on a spec sheet.
What 30fps means for your TV
At 30fps, GTA 6 reaches your TV as a 60Hz signal with every rendered frame shown twice, so your TV doesn’t need to refresh faster. It needs to respond quickly, map HDR correctly and handle slow frame rates without making them look worse.
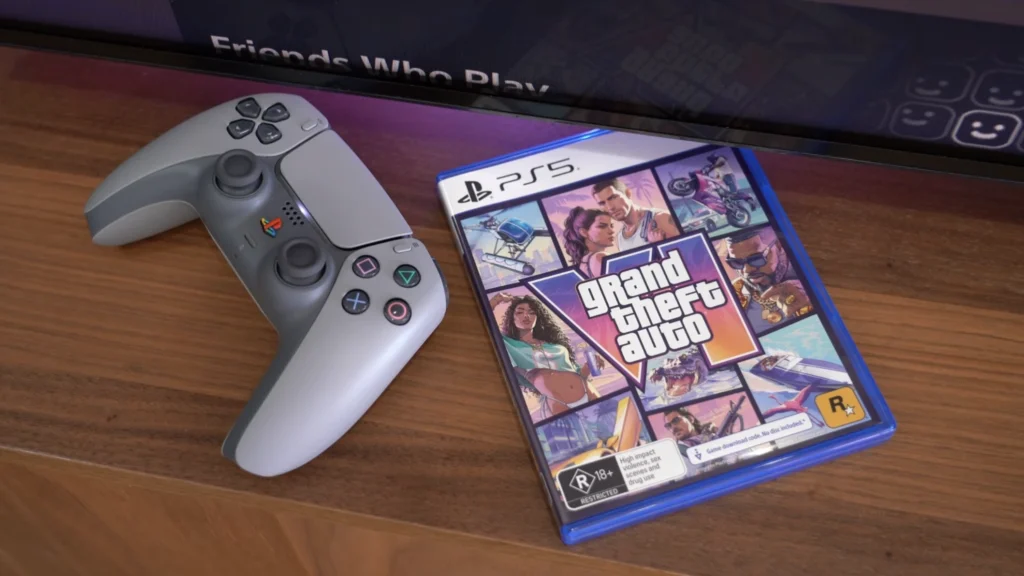
Rockstar’s post says GTA 6 targets 30fps on PS5, PS5 Pro and Xbox Series X|S. The PS5 Pro gets sharper images through PSSR upscaling and ray-traced shadows, not extra frames. There’s no 60fps mode and no 40fps mode at launch, and Xbox One owners can stream it through Xbox Cloud Gaming at Series S settings.
Three things follow from that: the 120Hz toggle you’ve been told to enable is irrelevant here, input lag at 60Hz matters more than input lag at 120Hz (the figure many spec sheets quote), and the way your TV deals with low frame rates, something you barely notice at 60fps, becomes very visible.
Step 1: Make sure Game Mode is actually on
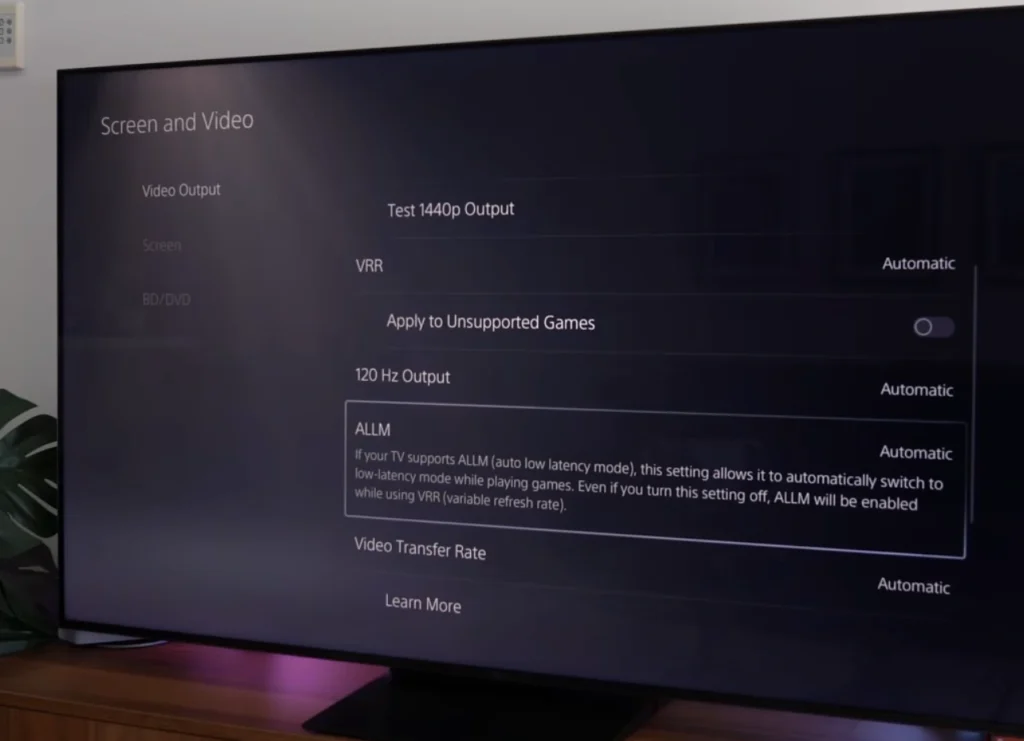
Game Mode is the one TV setting that changes how GTA 6 feels in your hands, because it strips out the processing that adds delay between a button press and the screen. Your console can switch it on for you through ALLM (auto low latency mode).
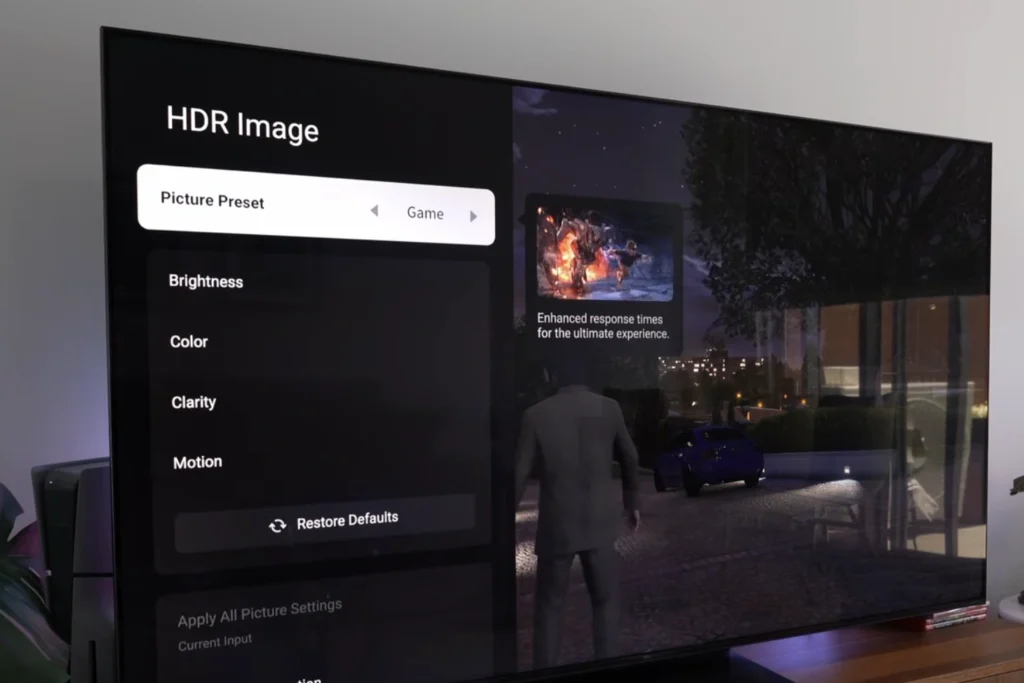
- PS5: Settings > Screen and Video > Video Output > ALLM, set to Automatic.
- Xbox Series X|S: Settings > General > TV & display options > Video modes > Allow auto low-latency mode.
One PlayStation detail worth knowing: if VRR is switched on, the PS5 forces your TV into low-latency mode even when ALLM is off.
Don’t trust the handshake blindly: open your TV’s picture menu mid-mission, and if the mode says Standard, Vivid or Movie instead of Game, you’ll need to change it yourself.
How much this matters depends on your set. On the 65-inch TCL Q6C we measured 13.1ms of input lag at 60Hz in Game Mode, low enough that you won’t feel it while you’re weaving a getaway car through Vice City traffic. The Sony Bravia 3 II measured 5.1ms at 4K/120, a lovely figure that Rockstar’s open world will never touch, since its frames arrive at 60Hz.
Step 2: Use the right HDMI port
Plug your PS5 or Xbox into an HDMI 2.1 port even though GTA 6 runs at 30fps, because VRR needs one and many TVs only have two. (The port labels are usually printed beside the sockets, or listed in the manual.)
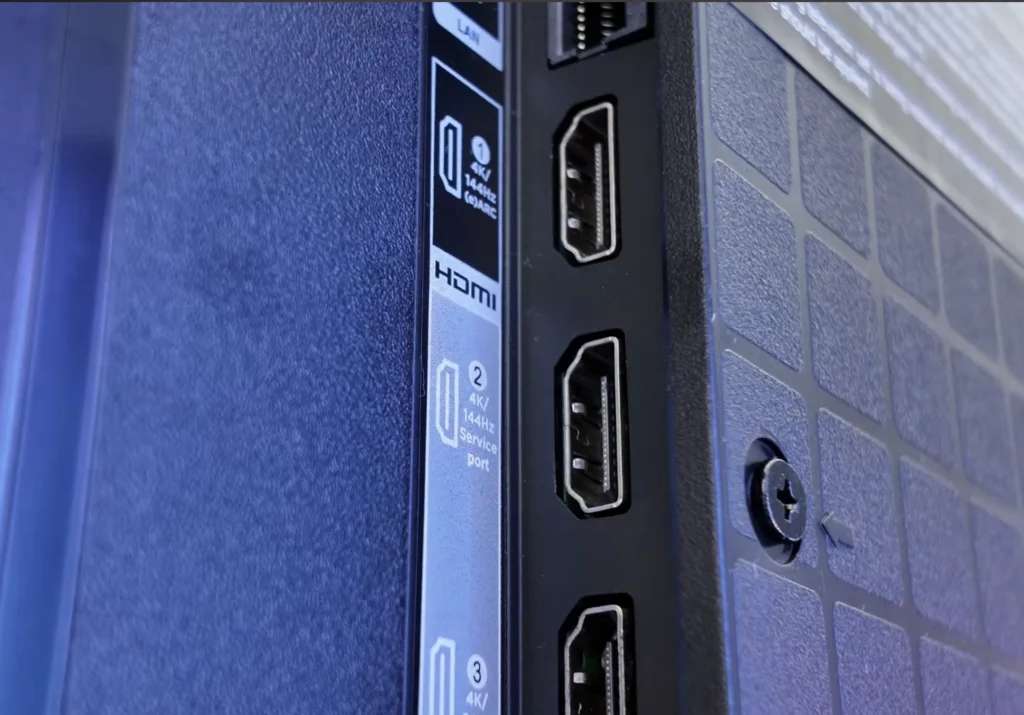
This is where cheaper TVs catch you out. The TCL Q6C has four HDMI inputs, but only two are full 48Gbps HDMI 2.1 and one of those doubles as eARC, so once you connect a soundbar you’re left with exactly one proper gaming port. The Bravia 3 II runs all four inputs at 48Gbps, so a PS5, an Xbox and a soundbar each get a full socket.
If your PS5 shows flickering or a black screen after you switch ports, the cable is the usual culprit. Try the cable that shipped with the console before you blame the television.
Step 3: Calibrate HDR before you start playing
HDR calibration will do more for how GTA 6 looks on your TV than any other setting here, because a title built to push visual detail at 30fps lives or dies on neon highlights and shadow detail. The order matters: set the TV first, then the console.
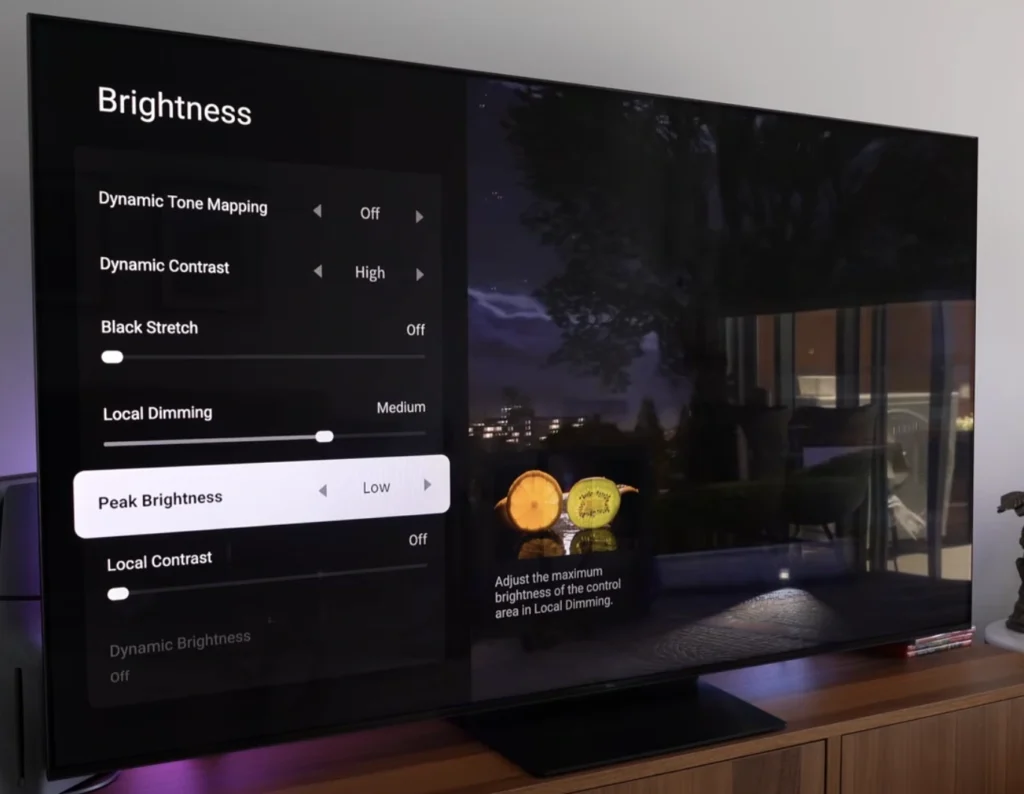
On the TV: stay in Game Mode, switch off dynamic tone mapping, and set HDR tone mapping to HGIG if your TV offers it (some brands write it as HGiG). HGIG stops the TV from adding its own tone mapping on top of the console’s, so the brightness you set during calibration is the brightness you actually get.
On the console:
- PS5: Settings > Screen and Video > Video Output > HDR, set to On When Supported, then run Adjust HDR from the same menu.
- Xbox Series X|S: Settings > General > TV & display options > Calibrate HDR for games.
If Rockstar puts its own HDR calibration screen in front of you on first launch, follow its reference images. Don’t copy brightness numbers from a forum post written for someone else’s TV, because your panel, your room and your TV’s menu scales are all different.
Step 4: Decide what to do about motion smoothing
In a 30fps game like GTA 6, motion smoothing is a real trade-off rather than an automatic switch-off. Every camera pan across Leonida is thirty stills a second, and fast panels like OLED and quick Mini LED show each one crisply before jumping to the next, which reads as stutter.
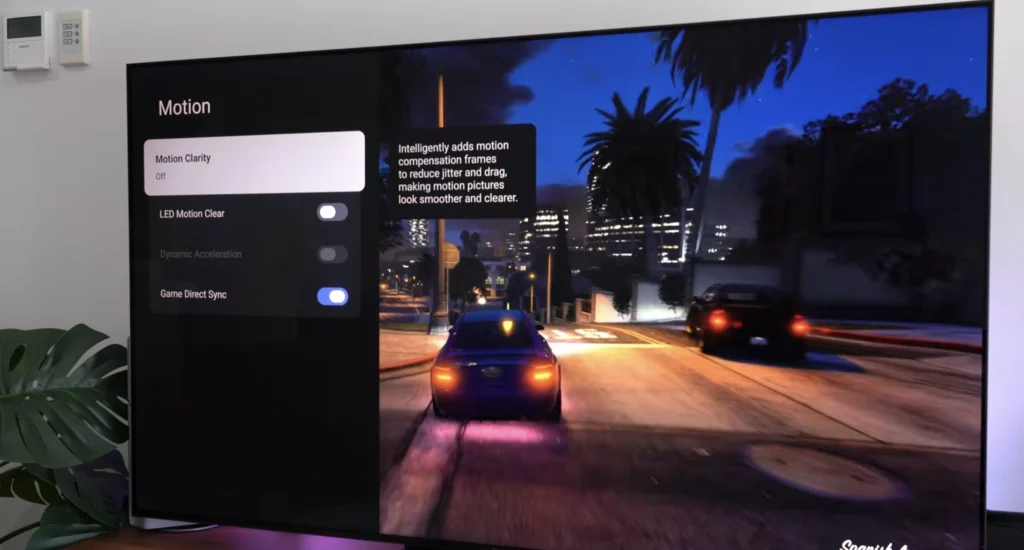
Regular motion smoothing fixes that by inventing frames, but it adds lag and visible artefacts: when Motion Clarity was left on during the TCL Q6C review, a cricket ball picked up a trail and sometimes looked like two or three balls at once. Leave it off here too.
A few sets offer a gaming version. Samsung’s Game Motion Plus, for instance, is designed to smooth motion inside Game Mode with less lag. The catch, in Samsung’s own words, is that Game Motion Plus is disabled when VRR is on. So on a Samsung you have to choose one or the other, and for a slow-paced open world locked at 30fps you’re better off trying Game Motion Plus first and judging it by feel on a long night drive.
Step 5: Turn VRR on, but don’t expect miracles
VRR (variable refresh rate) only earns its keep in GTA 6 when the frame rate dips below 30, not while it holds steady. It costs you very little to switch on, so do it:
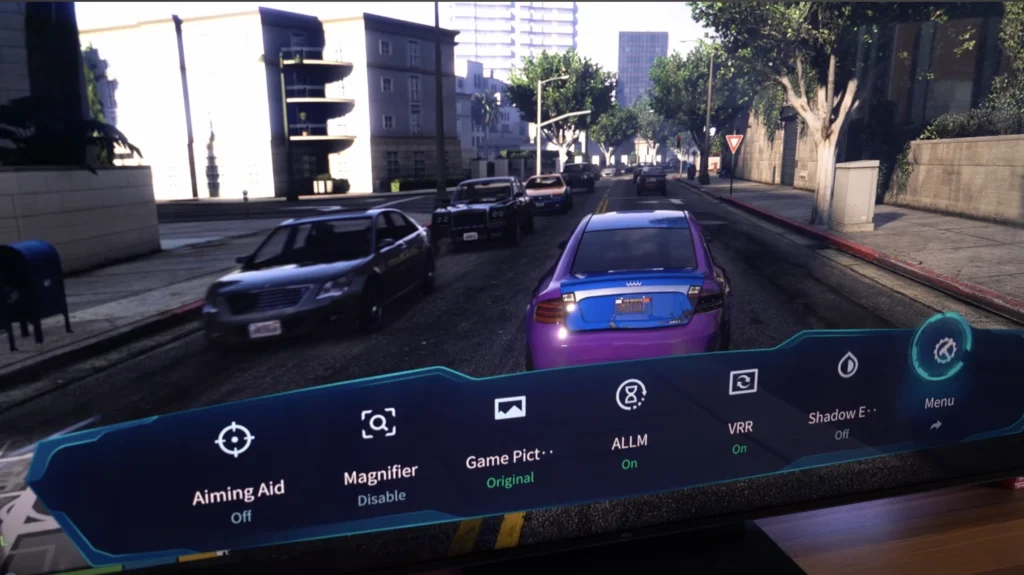
- PS5: Settings > Screen and Video > Video Output > VRR, set to Automatic, and turn on Apply to Unsupported Games. PlayStation says that option stabilises frame rates in games that don’t support VRR, and suggests switching it off if you see unexpected behaviour.
- Xbox Series X|S: Settings > General > TV & display options > Video modes > Allow variable refresh rate.
Keep your expectations modest, because many TVs’ VRR window starts at 48Hz (the TCL models in our Best TV guide list 48 to 288Hz), so a title holding 30 sits below it and the TV relies on doubling frames. If you notice flickering in dark scenes with VRR on, turn it off, since that’s a known side effect on some panels at low frame rates and you won’t lose much by doing without it.
Step 6: Leave 120Hz on and forget about it
The PS5’s 120Hz output setting only applies to games that support 120Hz, and GTA 6 doesn’t. Leaving it on does no harm, and you’ll want it for the racers and shooters that do.
Do you need a new TV for GTA 6?
You don’t need a new TV for GTA 6 if yours already does 4K HDR and has a working Game Mode, because the 30fps cap removes the main reason you’d upgrade for this particular release.
If you’re buying anyway, judge a TV on HDR brightness, input lag at 60Hz and the number of full HDMI 2.1 ports, not on a 144Hz badge. Our current picks, with full test results, are in the Best TV in India guide. The TCL Q6C is the strongest picture around ₹50,000 but only has two full HDMI 2.1 ports, and the Sony Bravia 3 II has four but costs more than its backlight justifies. To check what your current TV can really do, run it through our free Display Test tool before you spend anything.
GTA 6 TV settings: quick answers
No. Rockstar says GTA 6 targets 30fps on PS5, PS5 Pro and Xbox Series X|S. The PS5 Pro version gets sharper images through PSSR and ray-traced shadows instead of a higher frame rate.
No. GTA 6 runs at 30fps on every console, so a 120Hz TV adds nothing for this game. Game Mode, low input lag at 60Hz and a good HDR calibration matter far more.
Yes, but expect a small effect. VRR only helps GTA 6 when the frame rate dips below 30, and many TVs start VRR at 48Hz. Switch it off if dark scenes flicker.
For GTA 6 on PS5, put the TV in Game Mode with HGIG tone mapping if offered, set PS5 HDR to On When Supported, then run Adjust HDR in Screen and Video settings.